
SFM Compile Filmmaker (SFM) is a powerful animation and movie-making tool developed by Valve. Used by animators and filmmakers alike, SFM allows users to create intricate animations using assets from popular games made by Valve, such as SFM Compile 2, Left 4 Dead, and Half-Life 2. One critical aspect of working with Source Filmmaker is the compilation process, which is necessary for transforming your project files into an executable, fully rendered animation. For beginners, navigating the SFM compile process may seem challenging, but it doesn’t have to be. This guide will walk you through the steps to compile your SFM projects smoothly, troubleshoot SFM Compile issues, and provide tips to optimize your process.
What is SFM Compile?
sfm compile we dive into the details of compiling in SFM, it’s essential to understand what compiling means in the context of Source Filmmaker. Compiling refers to converting your source files—such as models, animations, and scene setups—into a format that can be rendered as a video. This process involves transforming raw data into sfm compile that can be outputted as a final animation, typically in the form of a .bsp file, which stands for “binary space partitioning.” These files are then rendered frame by frame to create the finished video.
The SFM compile process is essential for ensuring your animation works correctly and is rendered efficiently. Understanding how it works is crucial to avoiding common errors and optimizing workflow.
The SFM Compile Process Explained
Step 1: Set Up Your Scene
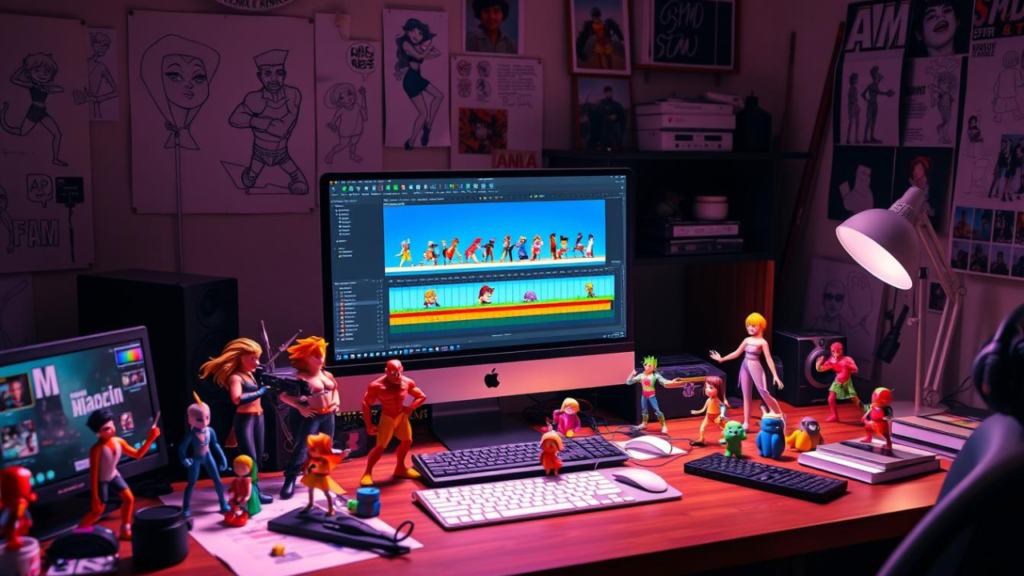
The first step in any SFM project is to set up your scene. This includes importing models, lighting, textures, and setting camera angles. While working in the SFM interface, you will adjust the scene’s layout and timing, setting up keyframes and poses for characters. All these elements will play a role in the final compiled animation.
- Importing Models: You can import models from Valve games or custom-created models. Ensure your models are adequately rigged and compatible with SFM to avoid issues during compilation.
- Lighting: Proper lighting can enhance your scene and create the desired mood. Experiment with different light sources and their positions before proceeding to the compilation step.
- Animation and Camera Work: SFM allows you to animate objects and characters. Ensure all your animations are correctly set with keyframes. Adjust the timing of each animation to fit the rhythm of your scene.
Step 2: Precompile Checks
Before proceeding to the actual compile process, doing a few checks is essential to ensure your scene is ready for rendering. Failing to do these checks could lead to errors during the compilation.
- Scene Errors: SFM will alert you if there are missing models, textures, or references. Take the time to resolve these errors before continuing.
- Optimize Performance: If your scene contains too many models or complex animations, it could significantly slow the rendering process. Consider simplifying your scene or splitting it into smaller parts if necessary.
- Save Your Work: Always save your project file frequently to avoid losing progress due to software crashes or unexpected issues.
Step 3: The Compilation Process
Once your scene is fully prepared, it’s time to begin compiling. This process can vary based on the complexity of your scene, but here’s a general breakdown:
- Access the Compile Menu: In SFM, go to the File menu and select Export. From the export window, you can choose whether to compile a single scene or an entire sequence of frames.
- Choose Compilation Settings: The SFM compile settings include options for the quality of the render, the file type, and whether to include some aspects like audio or effects. Choose the settings that best suit your project.
- Compile Your Animation: Initiate the compile process after setting up your preferences. The software will begin processing all your scene data, converting it into a format that can be rendered as a final video.
- Wait for the Compilation to Complete: Depending on the complexity of your scene, this process can take a few minutes to several hours. Make sure to be patient, as a higher-quality compile may take longer.
Step 4: Troubleshooting Compile Issues
While the compilation process usually works smoothly, it’s common for beginners to encounter errors. Here are some common issues and how to resolve them:
- Missing Models or Textures: If SFM cannot find certain assets during the compile, it will throw an error. Ensure that all files are correctly placed in the appropriate directories. Check if any files have been moved or renamed.
- Compilation Errors Due to Camera Angles: Some users report issues where the camera view causes problems during rendering. Ensure your camera angles are correctly set, and avoid extreme positions that could conflict with other elements in the scene.
- Out-of-Memory Errors: Large scenes with many elements can cause SFM to run out of memory during compilation. Try reducing the number of models in your scene or breaking your project into smaller sections to avoid this issue.
- Audio Sync Issues: If the audio in your scene doesn’t sync appropriately after compilation, double-check the timing of your sound cues. Ensure that all sound files are correctly linked to the scene.
Step 5: Rendering and Final Output
After compiling, the next step is rendering. This is the process of turning your compiled files into a playable animation.
- Set Up Render Settings: In the render settings, choose your desired output format (e.g., MP4, AVI) and resolution (e.g., 1080p, 4K). Make sure to match these settings with your compile preferences.
- Start the Rendering Process: Once everything is set, hit the render button. The rendering process will convert your compiled scene into a video file that can be shared and viewed.
- Review and Edit: Review the final video after the render is complete. Look for any errors, such as missing textures or stuttering animations. If any issues are found, return to SFM, adjust, and recompile.
Tips for Optimizing SFM Compile
- Reduce Scene Complexity: Simplify your scenes to improve compile times. Avoid excessive use of high-poly models and complex animations, which can cause longer compile and render times.
- Use Proper Lighting: Experiment with different lighting setups to achieve the desired look without overwhelming the scene.
- Check for Errors Early: Run through the precompile checks to ensure all assets are in place before starting the compilation process.
- Save Often: SFM is prone to occasional crashes, especially when working with complex scenes. Save your work frequently to avoid losing any progress.
- Use Custom Compile Settings: Experiment with different compile settings for faster processing times or higher-quality results, depending on your needs.
FAQs
1. What is the difference between compiling and rendering in SFM?
Compiling refers to converting your scene data into a format that can be rendered, while rendering is the creation of the video file. Compiling prepares your project, and rendering creates the final output.
2. How long does the SFM compile process take?
The time it takes to compile depends on the complexity of your scene, the number of assets, and the quality settings. A simple scene may take minutes, while more complex projects may take hours.
3. Can I skip the compile step in SFM?
No, the compile process is necessary to transform your raw files into a format that can be rendered. Skipping it would result in an incomplete project.
4. Why do I get errors when compiling in SFM?
Errors can occur due to missing assets, incorrect file paths, or issues with your scene setup. Check for disappeared models, textures, or other references and resolve them before compiling.
5. How can I reduce compile times in SFM?
To reduce compile times, simplify your scenes by removing unnecessary models or textures, reduce the resolution of textures, and use lower-quality settings for testing purposes.
You May Also Read: https://techusupdate.com/jann-mardenborough-height/